- Blog
Why Passivation Turns Black on Stainless Steel And How to Fix It
- Nilesh Kothari
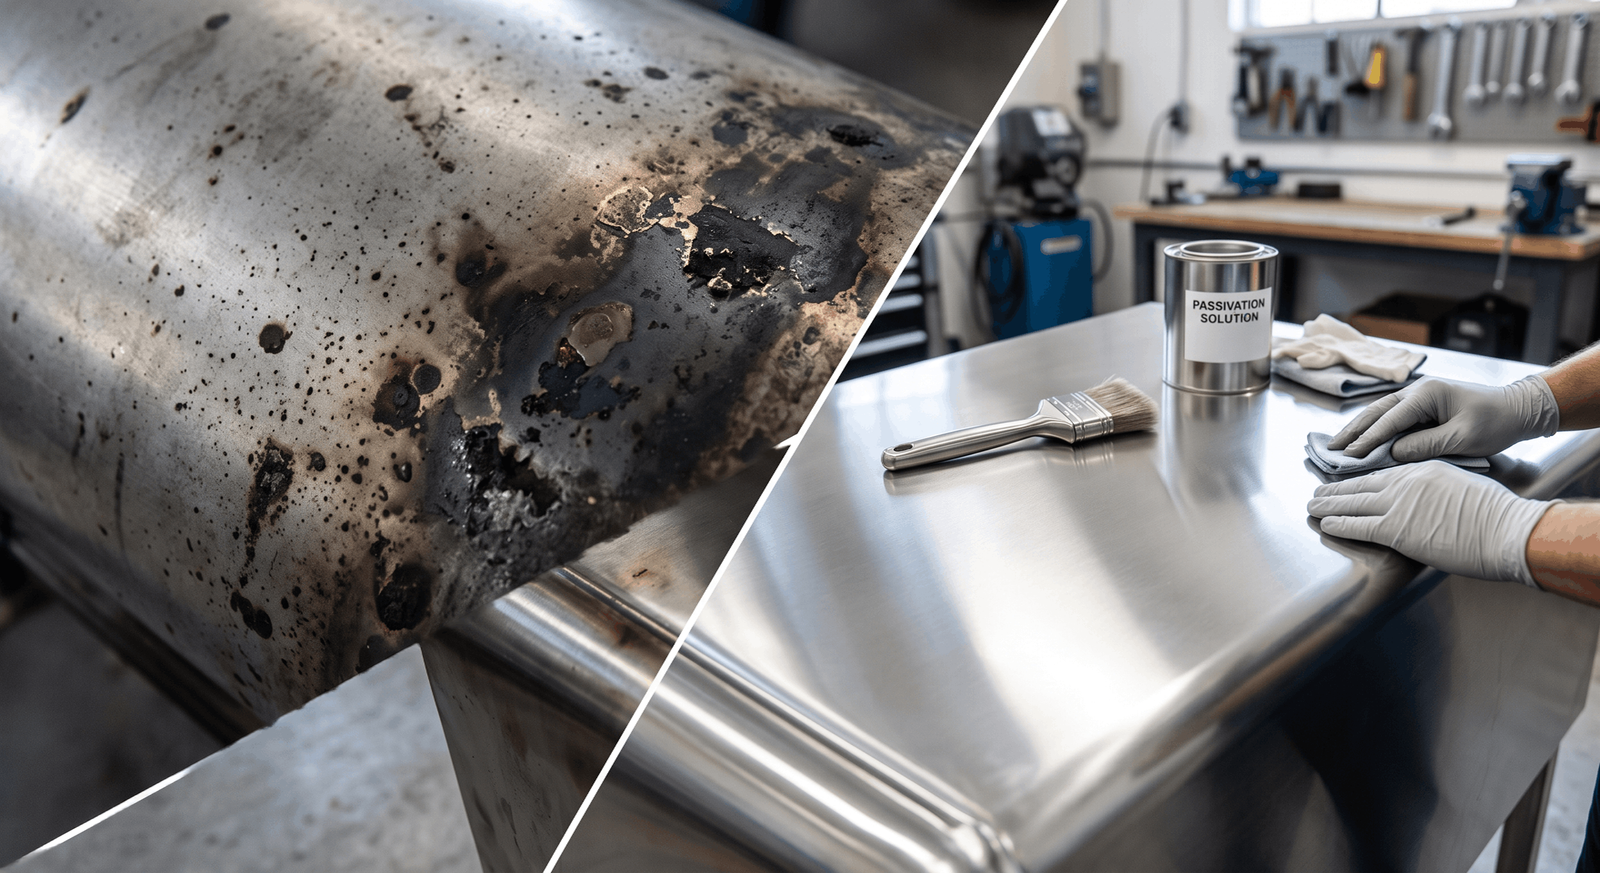
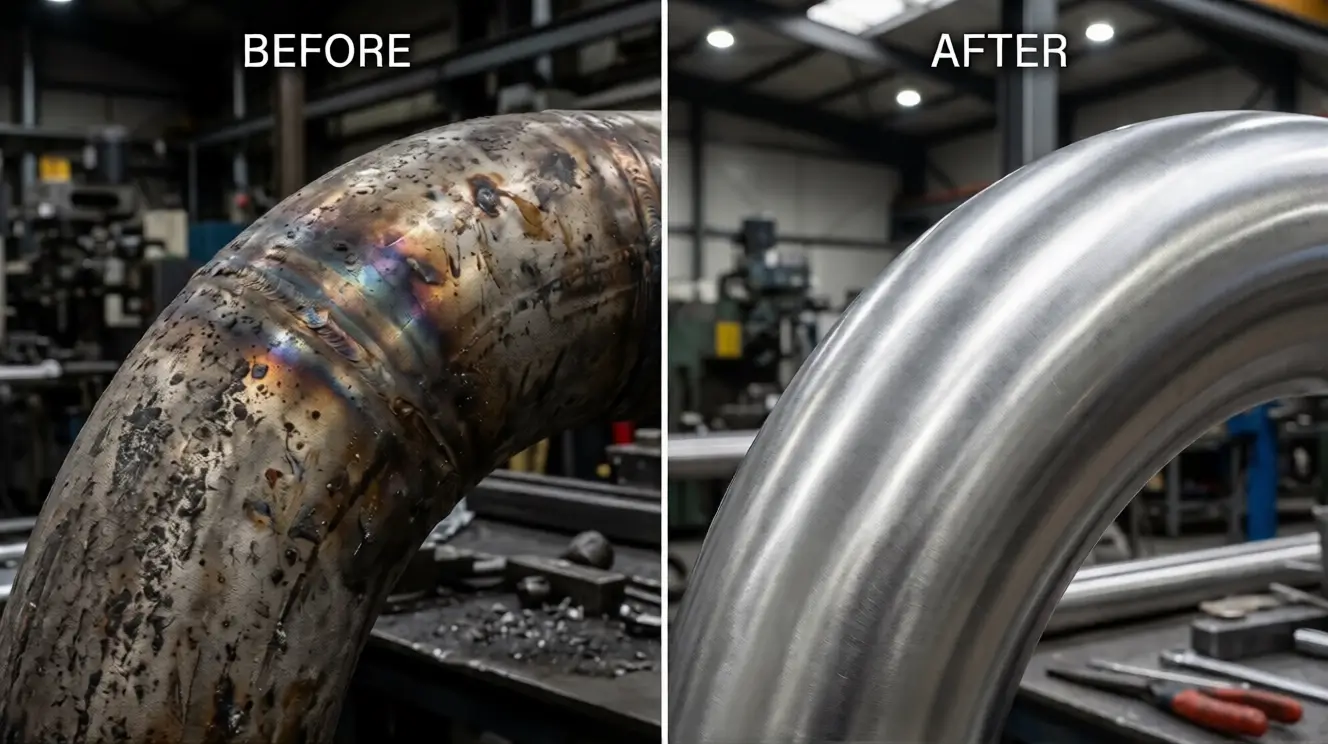
The parts went into the passivation tank bright. They came out grey, patchy or covered in black spots. Now QC has put the lot on hold, the customer’s inspector wants an explanation, and dispatch is slipping.
Here’s what most plants learn the hard way: a correctly run passivation step should not visibly change stainless steel. When a batch comes out dark, something has gone wrong, either in the bath or on the surface that went into it. In most cases, the root cause sits upstream of the passivation tank.
This guide shows you how to identify what you’re looking at, what causes black spots and staining, how to handle a batch that is already affected, and how to stop it from happening again.
Quick Answer: Black spots or darkening after stainless steel passivation usually come from one of two problems. Either the acid attacked the metal instead of passivating it (known as flash attack), or contamination such as oil, scale, pickling smut or embedded iron was never removed before passivation. The most common triggers are incomplete pre-cleaning, a contaminated bath (chlorides in particular), bath temperature or immersion time outside the specified window, and stainless steel grades that need a different passivation route, such as free-machining or martensitic grades.
What Black Spots After Passivation Actually Mean
Passivation is a chemical treatment that removes free iron and other surface contaminants from stainless steel so that the chromium-rich passive oxide film can form evenly across the surface. Unlike pickling, passivation is not meant to remove base metal or change the finish.
That is why darkening is a warning sign, not a cosmetic quirk.
ASTM A967, the standard specification for chemical passivation treatments of stainless steel parts, requires passivated parts to show a chemically clean surface with no etching, pitting or frosting on visual inspection. A lot with black spots or a grey, etched finish will usually fail that visual check before any corrosion test is even run.
What Is Flash Attack?
Flash attack is an uncontrolled acid attack during passivation. Instead of forming a clean passive film, the bath etches the surface and leaves it dark grey, black or heavily etched. It damages the very surface that passivation is supposed to protect.
Published industry guidance links flash attack most often to:
- Contaminated passivation baths, with chlorides being the most frequently cited contaminant
- Cutting fluid or oil left on parts because pre-cleaning was skipped or incomplete
- Excessive bath temperature
- Excessive immersion time
Identify the Defect Before You Change the Bath
Several different defects look alike from a distance. A few minutes at the inspection bench tells you where to look, and stops you from dumping a good bath to fix a cleaning problem.
| What you see | What it usually points to | First thing to check |
|---|---|---|
| Entire load uniformly dull grey or black; surface looks etched | Flash attack from bath contamination, temperature or time | Bath analysis (including chlorides), temperature log, actual immersion time |
| Black residue that transfers onto a clean white cloth | Smut left from pickling or descaling | Rinse quality; whether a smut-removal step was skipped |
| Dark patches at threads, blind holes, recesses or tube ends | Oil, drawing lubricant or cutting fluid trapped before passivation | Degreasing parameters; water-break test after cleaning |
| Dark bands near welds, heat-affected zones or annealed sections | Heat tint or oxide scale not fully removed | Descaling and pickling stage before passivation |
| Dark pits or spotting on 303, 416 or other free-machining grades | Sulfide inclusions attacked by the acid | Material certificate; whether a grade-appropriate route is used |
| Rust-coloured spots after water immersion or humidity testing | Free iron or embedded iron not removed | Tooling, racks, baskets, grinding and handling contamination |
Note for martensitic grades: Some low-nickel 400-series martensitic grades can etch mildly even in a normal passivation process. A light, uniform etch on these grades is not automatically flash attack. Compare against a known-good reference part from a previous accepted lot before condemning the bath.
The 7 Most Common Causes of Passivation Staining
1. Pre-Cleaning Was Skipped or Incomplete
This is the most common cause, and the easiest to miss.
Passivation acids are not degreasers. They will not reliably remove drawing oil, cutting fluid, forming lubricant or shop soil. Where these residues stay on the surface, the acid reacts unevenly. Industry guidance specifically warns that skipping cleaning and relying on the acid bath to “clean as it passivates” can lead to flash attack.
The usual trouble spots are the places that trap oil and resist rinsing:
- Threads and under-head areas on fasteners
- Tube IDs and tube ends
- Tightly wound wire coils
- Blind holes and deep recesses on machined parts
What to check: Degreaser concentration, temperature and contact time against the technical data sheet (TDS). Check how heavily the degreasing bath is loaded with oil. Confirm parts pass a water-break test (water sheets evenly instead of beading) before they enter the acid.
2. The Passivation Bath Is Contaminated
Chloride contamination is the most widely cited trigger for flash attack. Chlorides can enter the tank through make-up water, rinse carryover, chloride-bearing cleaning residues or contaminants on incoming parts. Dissolved metals also build up as the bath ages and processes more loads.
What to check:
- When the bath was last analysed and last recharged
- The chloride limit set by your customer’s specification or your internal procedure
- The quality of water used for bath make-up and rinsing (demineralised water is standard practice)
- Drag-in from the previous rinse tank
A bath that “has always worked” is a prime suspect when rejects suddenly spike. Contamination builds up gradually, then the defect appears all at once.
3. Temperature or Immersion Time Drifted Outside the Window
Excessive bath temperature and excessive immersion time are both documented contributors to flash attack. On a busy line, both drift:
- Heaters overshoot the setpoint
- Loads sit in the tank during a shift change or tea break
- Operators extend dwell time “to be safe”
A longer dip is not extra protection. Once the surface is passive, extra time in an aggressive or contaminated bath only raises the risk of attack.
Published laboratory testing reported in industry finishing literature has also found citric acid passivation to be more prone to flash attack than nitric acid passivation when temperature, time and contamination are not controlled. If you run a citric system, treat these parameters as strictly as you would in a nitric line.
What to check: Actual tank temperature measured with a calibrated thermometer (not just the controller display), timer records, and whether dwell time is controlled by the process sheet or by the operator.
4. Scale and Heat Tint Were Not Removed First
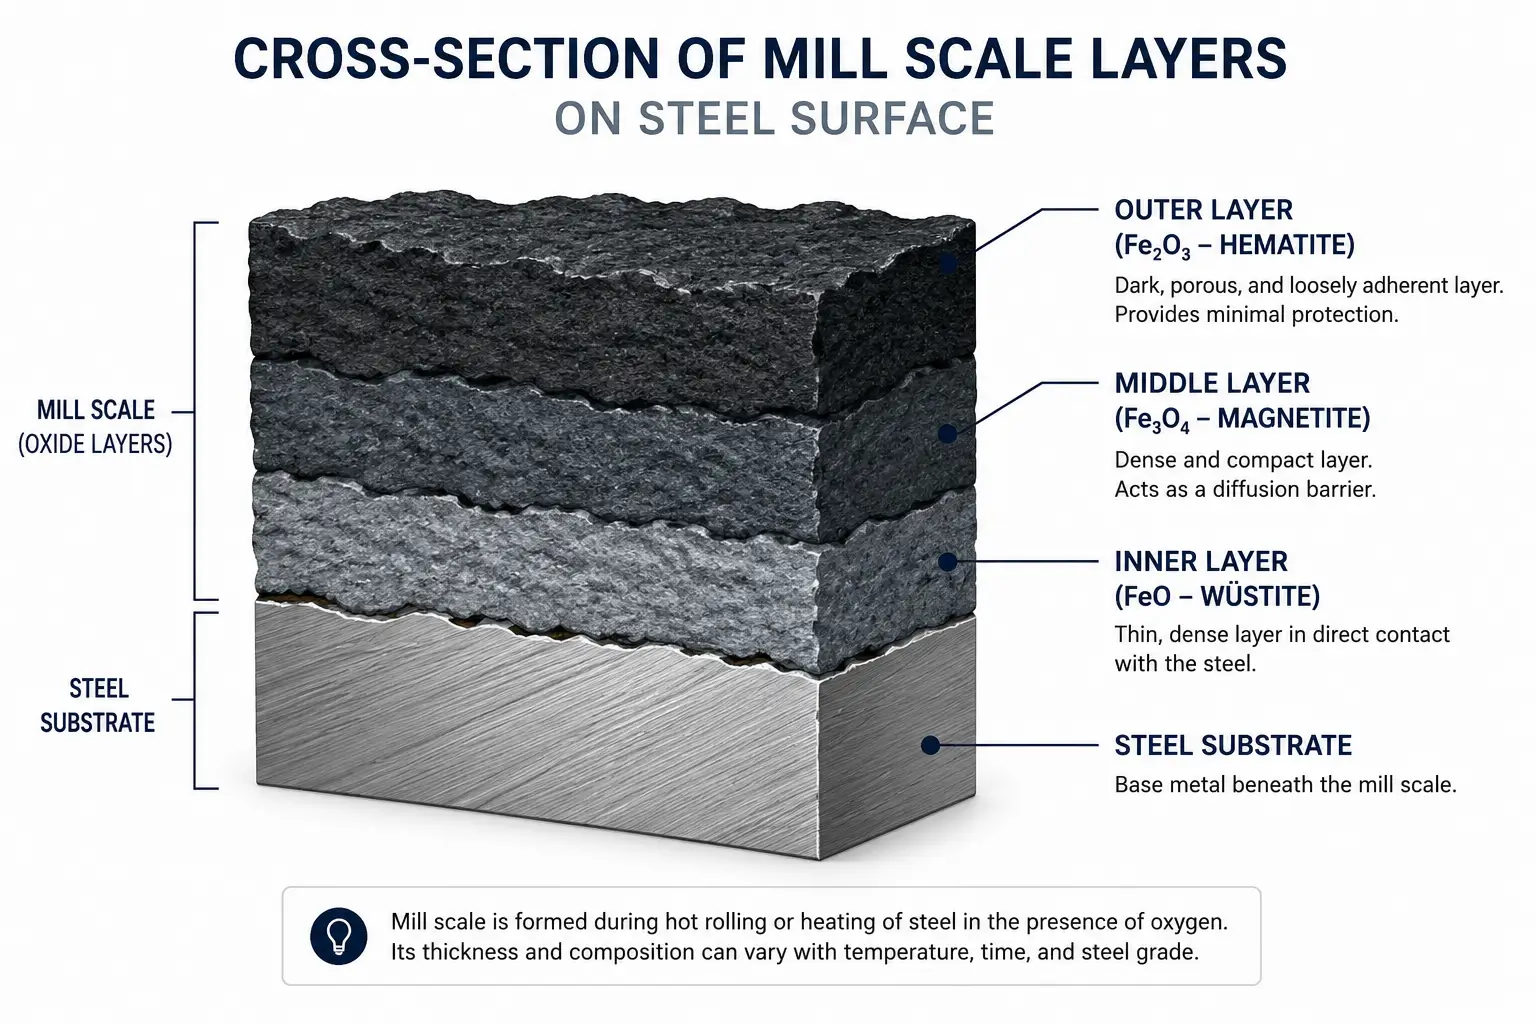
Heat tint and oxide scale from annealing, welding, forging or heat treatment sit on top of a layer that is depleted in chromium. Passivation is not designed to remove that scale. Nitric acid on its own passivates stainless steel, but it is not an effective pickling acid.
Parts that go straight from the furnace or weld bay into the passivation tank often come out with dark, patchy zones exactly where the scale was.
What to check: Whether scaled or heat-tinted parts go through descaling and pickling before passivation. For a step-by-step approach, see our guide on how to remove oxide scale from stainless steel.
5. Pickling Smut Was Left on the Surface
Pickling can leave a grey-black smut, a by-product of the pickling reaction itself. It forms most readily on ferritic and martensitic grades, and on austenitic grades that contain sulfur.
If smut is not fully removed before the part moves on, the part can come out of passivation looking dark even when the passivation bath itself is perfectly fine.
How to spot it: Wipe a suspect part firmly with a clean white cloth. Black transfer on the cloth points to smut or surface residue rather than etching.
6. The Grade or Material Condition Needs a Different Route
Not every stainless steel behaves the same way in the same bath.
- Free-machining grades (303, 416, 440F): The sulfide inclusions that make these grades easy to machine are partly or fully dissolved during passivation. This can leave microscopic pits and dark spotting. These grades are often processed with a modified route, such as an alkaline-acid-alkaline (A-A-A) sequence.
- Martensitic grades (410, 420, 440 series): Parts that were improperly hardened or tempered are more vulnerable to attack in the passivation bath.
- Carburized or nitrided parts: These surface treatments reduce the corrosion resistance of stainless steel. Published guidance states that such parts should not be passivated at all.
- Mixed-grade loads: Passivate one grade at a time. It prevents mix-ups and avoids galvanic effects between different alloys in the same basket.
What to check: Material test certificates for the lot, heat treatment records, and whether your process sheet specifies a different route for free-machining and martensitic grades.
7. Rinsing and Drying Were Poor
ASTM A967 requires parts to be rinsed thoroughly immediately after they leave the passivating solution. Delayed rinsing, dirty or overloaded rinse tanks, and parts left wet and nested in baskets can all leave stains that look like passivation failure.
What to check: Time between the acid tank and the rinse, rinse water condition and overflow rate, and whether parts are dried before packing.
How to Handle a Batch That Has Already Turned Black
When a lot is already affected, the priority is to avoid making it worse and to avoid repeating the defect on the next load.
- Quarantine and tag the lot. Do not send it back through the same tank until you know the cause.
- Run the wipe test. Black residue on the cloth suggests smut or surface residue. No transfer, combined with a dull, etched surface, suggests flash attack.
- For smut or residue: Re-clean the parts, remove the smut, rinse thoroughly, then re-passivate in a bath you have verified.
- For etched parts: Passivation cannot reverse etching. Recovery options such as re-pickling, mechanical finishing or electropolishing all remove material. Check dimensional tolerances and get customer approval before any rework.
- Correct the bath before the next load. Analyse it. If it is contaminated, dump and recharge rather than topping up.
- Re-test to the ASTM A967 practice your customer specifies.
- Close the loop. Record the confirmed root cause in your non-conformance report and update the process sheet so the same defect doesn’t return next month.
Passivation Line Control Checklist
Use this as a starting point for your process audit or daily line check.
Before the passivation tank
- Parts pass a water-break test after degreasing
- Scaled, annealed and welded parts are descaled and pickled first
- Smut is fully removed after pickling
- Grades are segregated; one grade per load
- Racks, baskets and tools do not introduce carbon steel contamination
In the passivation tank
- Temperature measured and logged, not assumed from the setpoint
- Immersion time controlled by the process sheet
- Bath analysis on a fixed schedule, including chloride level
- Clear dump-and-recharge criteria defined, not left to judgment
- Make-up water quality verified
After the passivation tank
- Immediate, thorough rinse
- Rinse tanks clean and not overloaded
- Parts dried before packing
Verification ASTM A967 lists several practices to confirm passivation effectiveness, including the water immersion test, high humidity test, salt spray test, copper sulfate test, potassium ferricyanide-nitric acid test and free iron test. Your customer’s drawing or purchase order decides which one applies. Note that the copper sulfate test is not suitable for every grade and can give false indications on certain ferritic and martensitic alloys.
Where Pre-Treatment Chemistry Fits in Your Passivation Line
Most passivation defects are decided before the part reaches the passivation tank. A clean, scale-free, smut-free surface gives the passivation step a fair chance to work evenly.
That is where Elite AquaChem’s stainless steel surface treatment chemicals fit:
| Process stage | Why it matters for passivation quality | Elite AquaChem products |
|---|---|---|
| Degreasing | Removes drawing oils, lubricants and metallic deposits that cause uneven acid attack. | Superclean 150, SuperClean 150 Plus, SuperClean 195 (ultrasonic compatible) |
| Descaling | KMnO4-based oxidising descalers remove heat scale and metallic deposits after annealing or forging. | Aquaclean 155, SUPERCLEAN AS II |
| Pickling support | Acid inhibitor for HF/nitric pickling baths; helps control metal loss and suppress fumes. | SI 400 (H) — see Acid Inhibitors |
| Final cleaning and finishing | Organic acid-based cleaning and polishing for a bright, dispatch-ready surface. | Ultrox 1750, Aquapolish 170, EPolish 200 |
Concentration, temperature and contact time should always come from the technical data sheet for your specific line and equipment. Request the TDS for any product above.
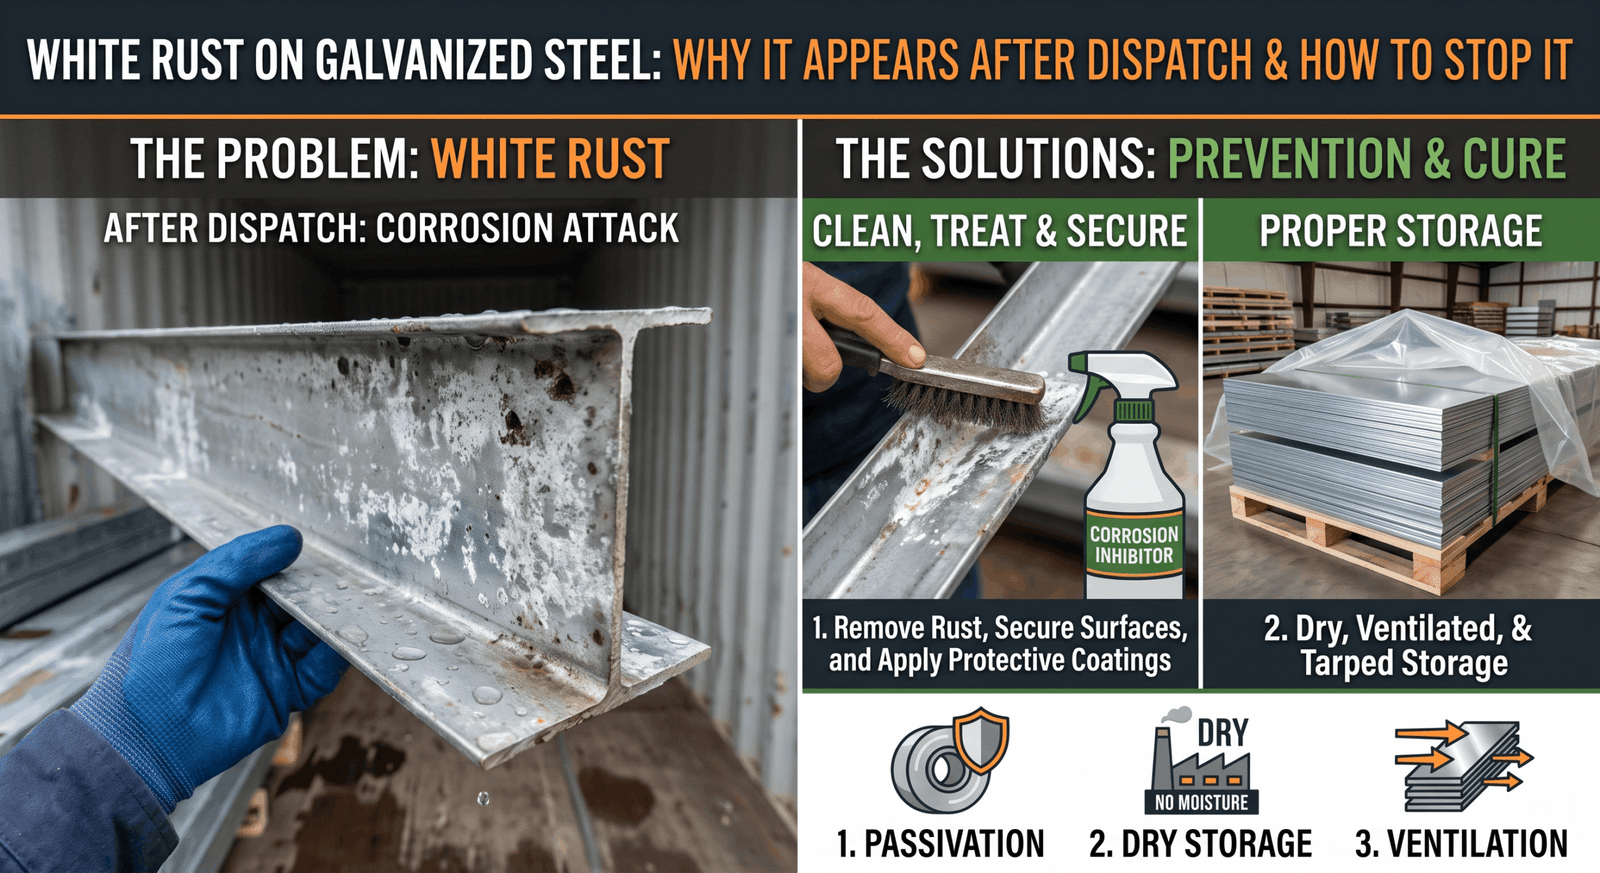
Seeing dark staining on galvanized or zinc-plated parts instead? That is a different chemistry and a different set of causes. Trivalent chrome passivation of zinc surfaces has its own control points. Elite AquaChem’s Aquachrome Passi 100 (clear finish) and Aquachrome Passi 300 (blue bright finish) are built for hot-dip galvanized and zinc-plated components. Read our guide to white rust on galvanized steel for the galvanizing-side troubleshooting.
Typical Problem Areas by Industry
Stainless Steel Tube Mills
After annealing, tubes typically go through acid pickling, rinsing and passivation before dimensional inspection and dispatch. The risk points are residual scale and drawing lubricant inside the tube ID, and rinse carryover that is hard to see from the outside. If dark streaks run along the tube length, check ID cleaning and rinsing before you suspect the passivation bath. Explore chemicals for the SS tube industry.
Stainless Steel Fastener Manufacturers
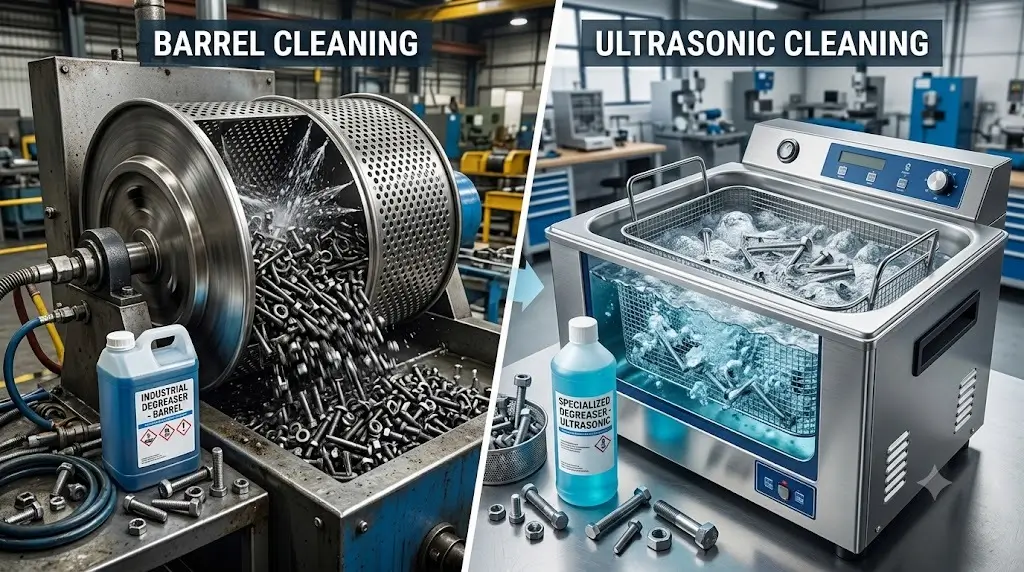
Threads, recesses and under-head areas trap oil. Parts nest together in barrel loads, which blocks both cleaning and rinsing. Heat scale from forging or annealing adds another layer to remove. When dark spots cluster at threads or heads, check degreasing and rinsing first. Explore chemicals for the SS fastener industry.
Stainless Steel Wire Manufacturers
Heavy drawing oils cling to wire after multi-stage drawing, and tightly wound coils are difficult to clean and rinse evenly. If staining shows up on inner coil turns but not outer turns, investigate cleaning and rinse penetration before changing the passivation bath. Explore chemicals for the SS wire industry.
Stop Treating the Symptom. Fix the Process.
Black spots after passivation are rarely bad luck. They are a signal that something in your cleaning, descaling, pickling, bath control or rinsing has drifted. Re-dipping the same lot in the same tank only repeats the defect and burns more production time.
Elite AquaChem works with stainless steel tube, wire and fastener manufacturers on the stages that decide passivation quality: degreasing, descaling, pickling support and final finishing. Our team reviews your line from incoming material to dispatch, recommends chemistry and process parameters that fit your equipment, and stays involved with bath checks and trials.
Get a Technical Consultation. Share photos of the affected parts, the grade, your process sequence and your current bath parameters. We’ll help you trace the root cause and set up a process that holds.
Frequently Asked Questions
Stainless steel turns black after passivation when the acid etches the surface instead of passivating it (flash attack), or when contaminants such as oil, scale, pickling smut or embedded iron were not removed beforehand. The most common triggers are incomplete pre-cleaning, a chloride-contaminated bath, bath temperature or immersion time above the specified range, and free-machining or martensitic grades processed with the wrong route.
Flash attack is an uncontrolled acid attack during passivation that leaves stainless steel dark grey, black or heavily etched instead of clean and bright. It is most often linked to bath contamination (especially chlorides), residual cutting fluid on the parts, excessive bath temperature and excessive immersion time.
Only if the black spots are surface residue or smut. In that case, re-clean the parts, remove the smut and re-passivate in a verified bath. If the surface is actually etched, passivation cannot reverse it. Rework options such as re-pickling or electropolishing remove material, so check tolerances and get customer approval first.
Wipe the part firmly with a clean white cloth. If black residue transfers to the cloth, you are most likely dealing with smut or surface residue. If nothing transfers and the surface looks dull, frosted or etched, flash attack is the more likely cause.
ASTM A967 requires passivated parts to show a chemically clean surface with no etching, pitting or frosting on visual inspection. Parts with black spots or an etched finish will generally fail that requirement. The specific corrosion or free-iron test your parts must pass is set by your customer's drawing or purchase order.
Nilesh Kothari
Founder, Elite AquaChem | 25+ Years in Specialty Metal Treatment Chemicals | Helping Steel Wire, Tube & Fastener Manufacturers Achieve Export-Ready Surface Finishing | ISO 9001:2015 Certified
Recent Post